Introduction
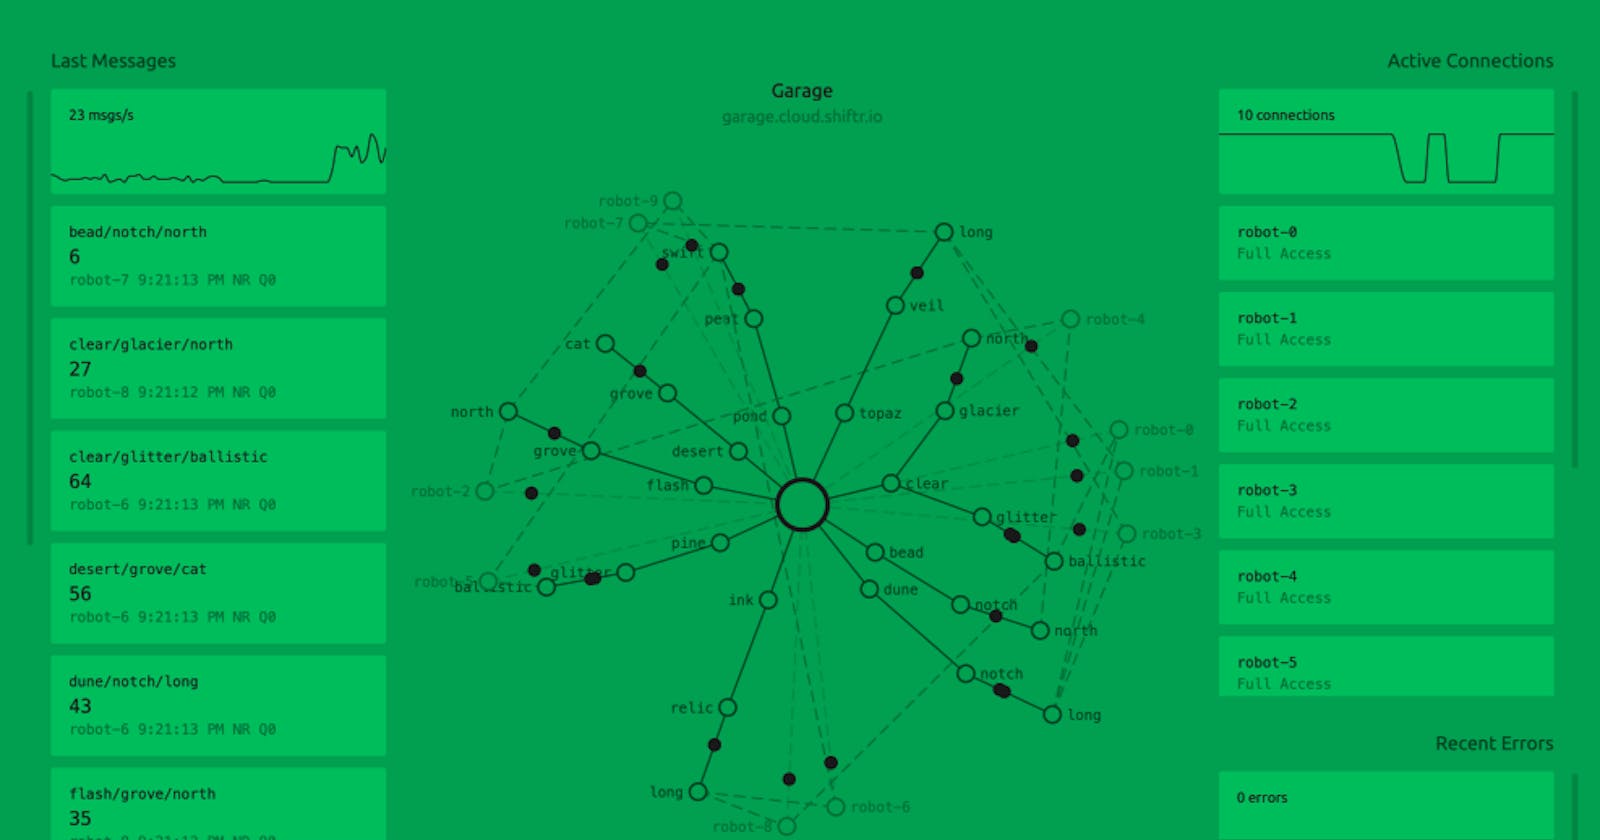
While I was wandering around the web looking for information related to MQTT, I came across a great service called shiftr.io that visualizes MQTT communication pretty well. This is a note when I gave it a try. It visualizes pretty much everything on MQTT like broker, clients, topics, the topology, message exchanges, message contents, communication volume, etc.
shiftr.io
It looks pretty interesting, right?
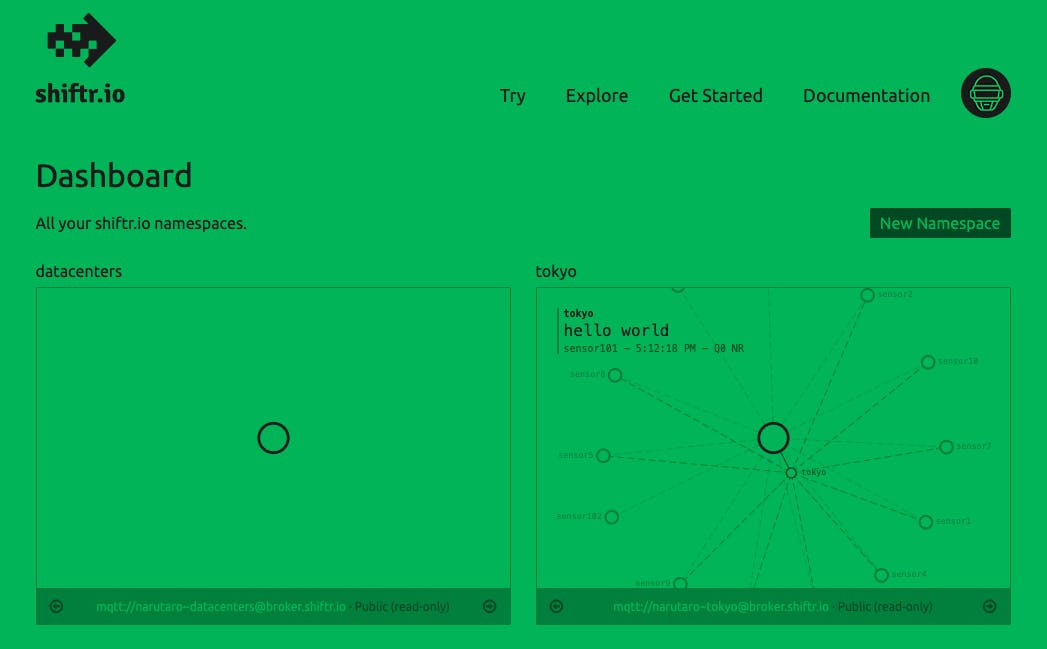
This is how it will be visualized.
- Here is a sandbox-like environment (topic) where anyone can try it.
- You can get there from
Tryon the top page ofshiftr.io. - Legend
- The large circle in the middle is the broker
- The small white circle around it is a topic; MQTT can represent topics in a hierarchy like
building/floor/room, so topics are attached to topics like branches. - The dotted circle is the client.
- The moving black circle is the message
Add a client
- Try to run
mqtt.rb, a client usingruby-mqtt. - When you run this,
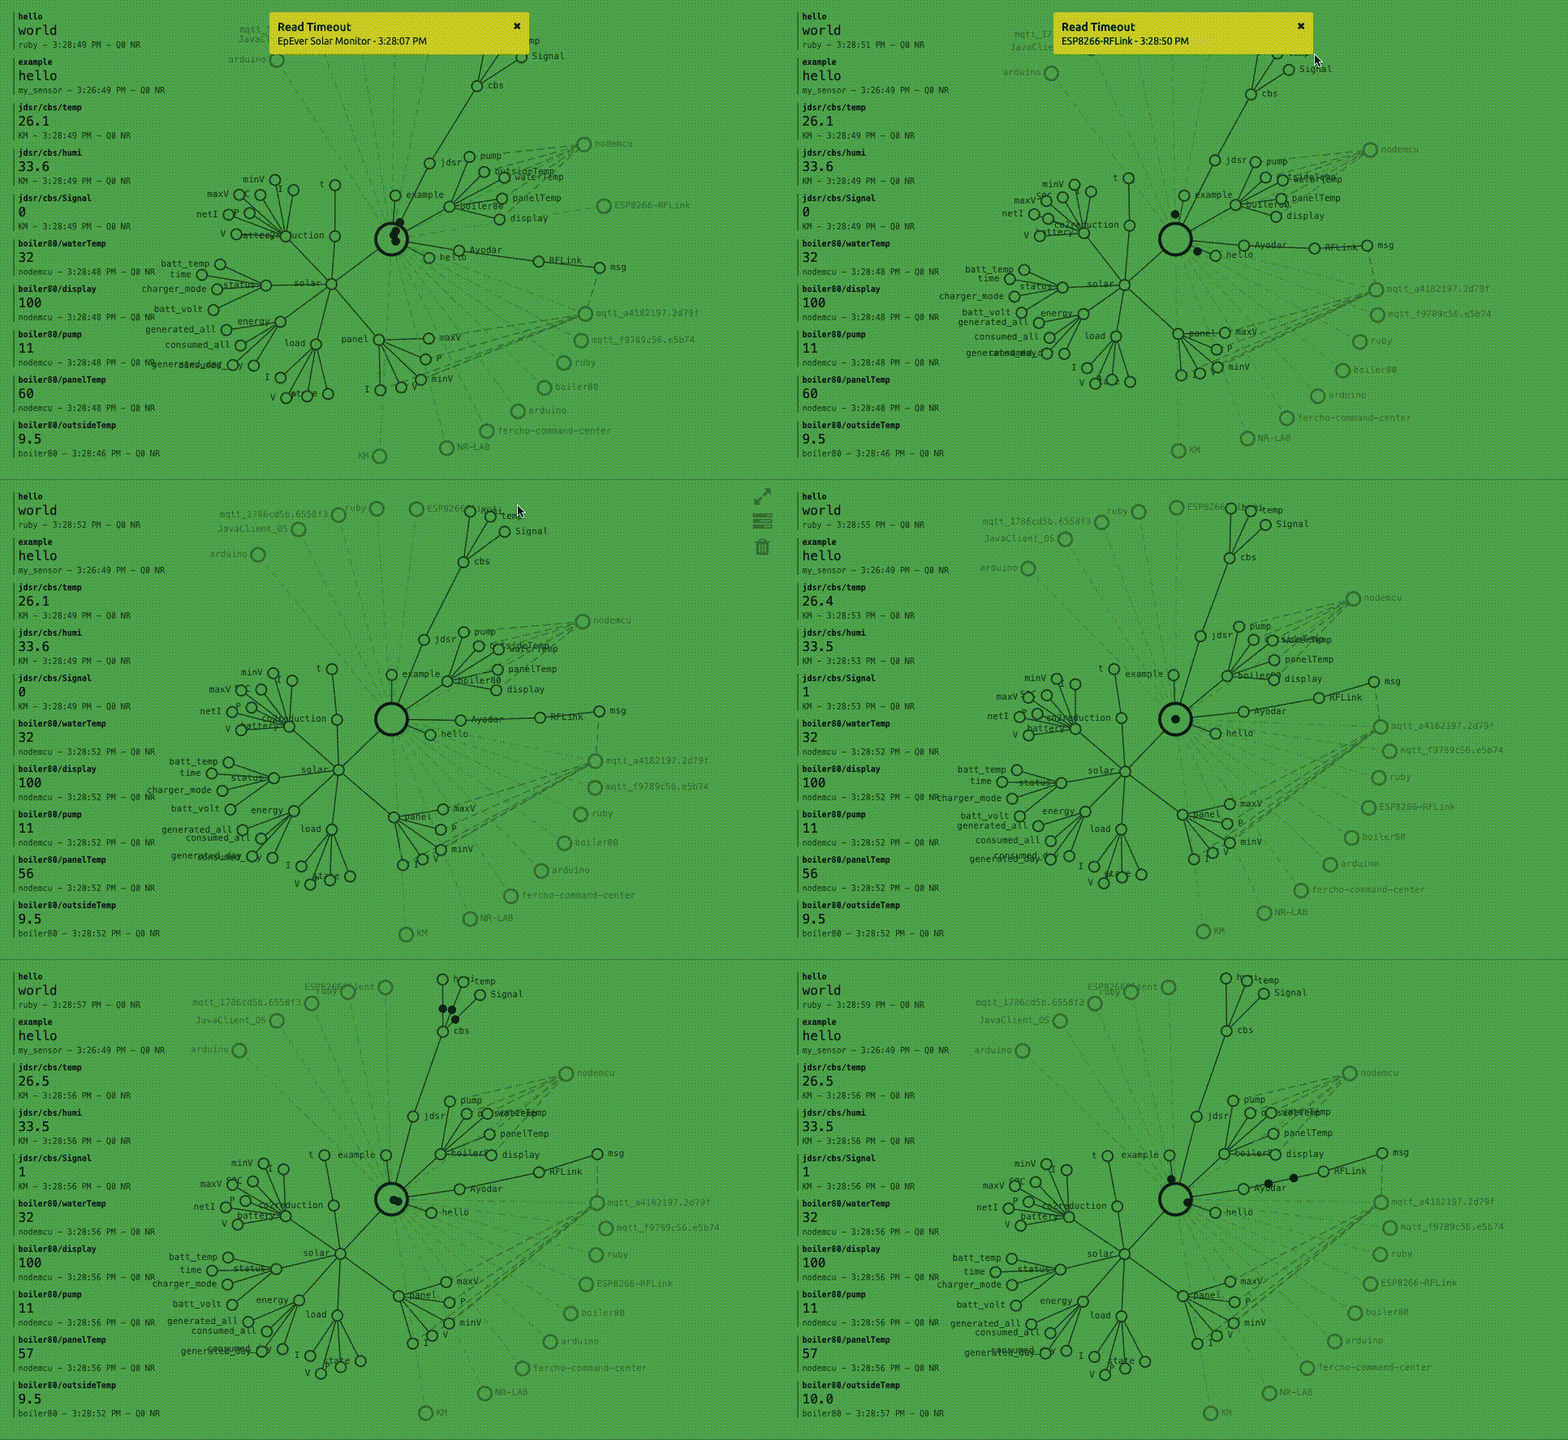
mySensorwill come up and start communication. This client doessubscribeto the same topic at[1]andpublishat[2], so it looks like black circles go and come back
require 'rubygems'
require 'mqtt'

broker = "mqtt://try:try@broker.shiftr.io"
client_name = "mySensor"

MQTT::Client.connect(broker, client_id: client_name) do |client|
  client.subscribe '/example' # [1] topic_name to subscribe
  loop do
    client.publish 'example', 'hello' # [2] publish to topic_name, message
    while !client.queue_empty? do
      topic, message = client.get
      puts "#{topic}: #{message}"
    end
    sleep 1
  end end
end
Create a new Namespace
- You can create your own namespace (topic) by selecting
New Namespacefrom theDashboard. - Once created, create a
tokenfrom theNamespace Settings.- The token will be in a format like
74ge91e8:63ce1cf22a17765x. - If you put this before
@asmqtt://74ge91e8:63ce1cf22a17765x@broker.shiftr.io, you can send and receive messages to and from your Namespace.
- The token will be in a format like
More clients to play with
Topic name Tokyo with 3 pub and 10 sub.
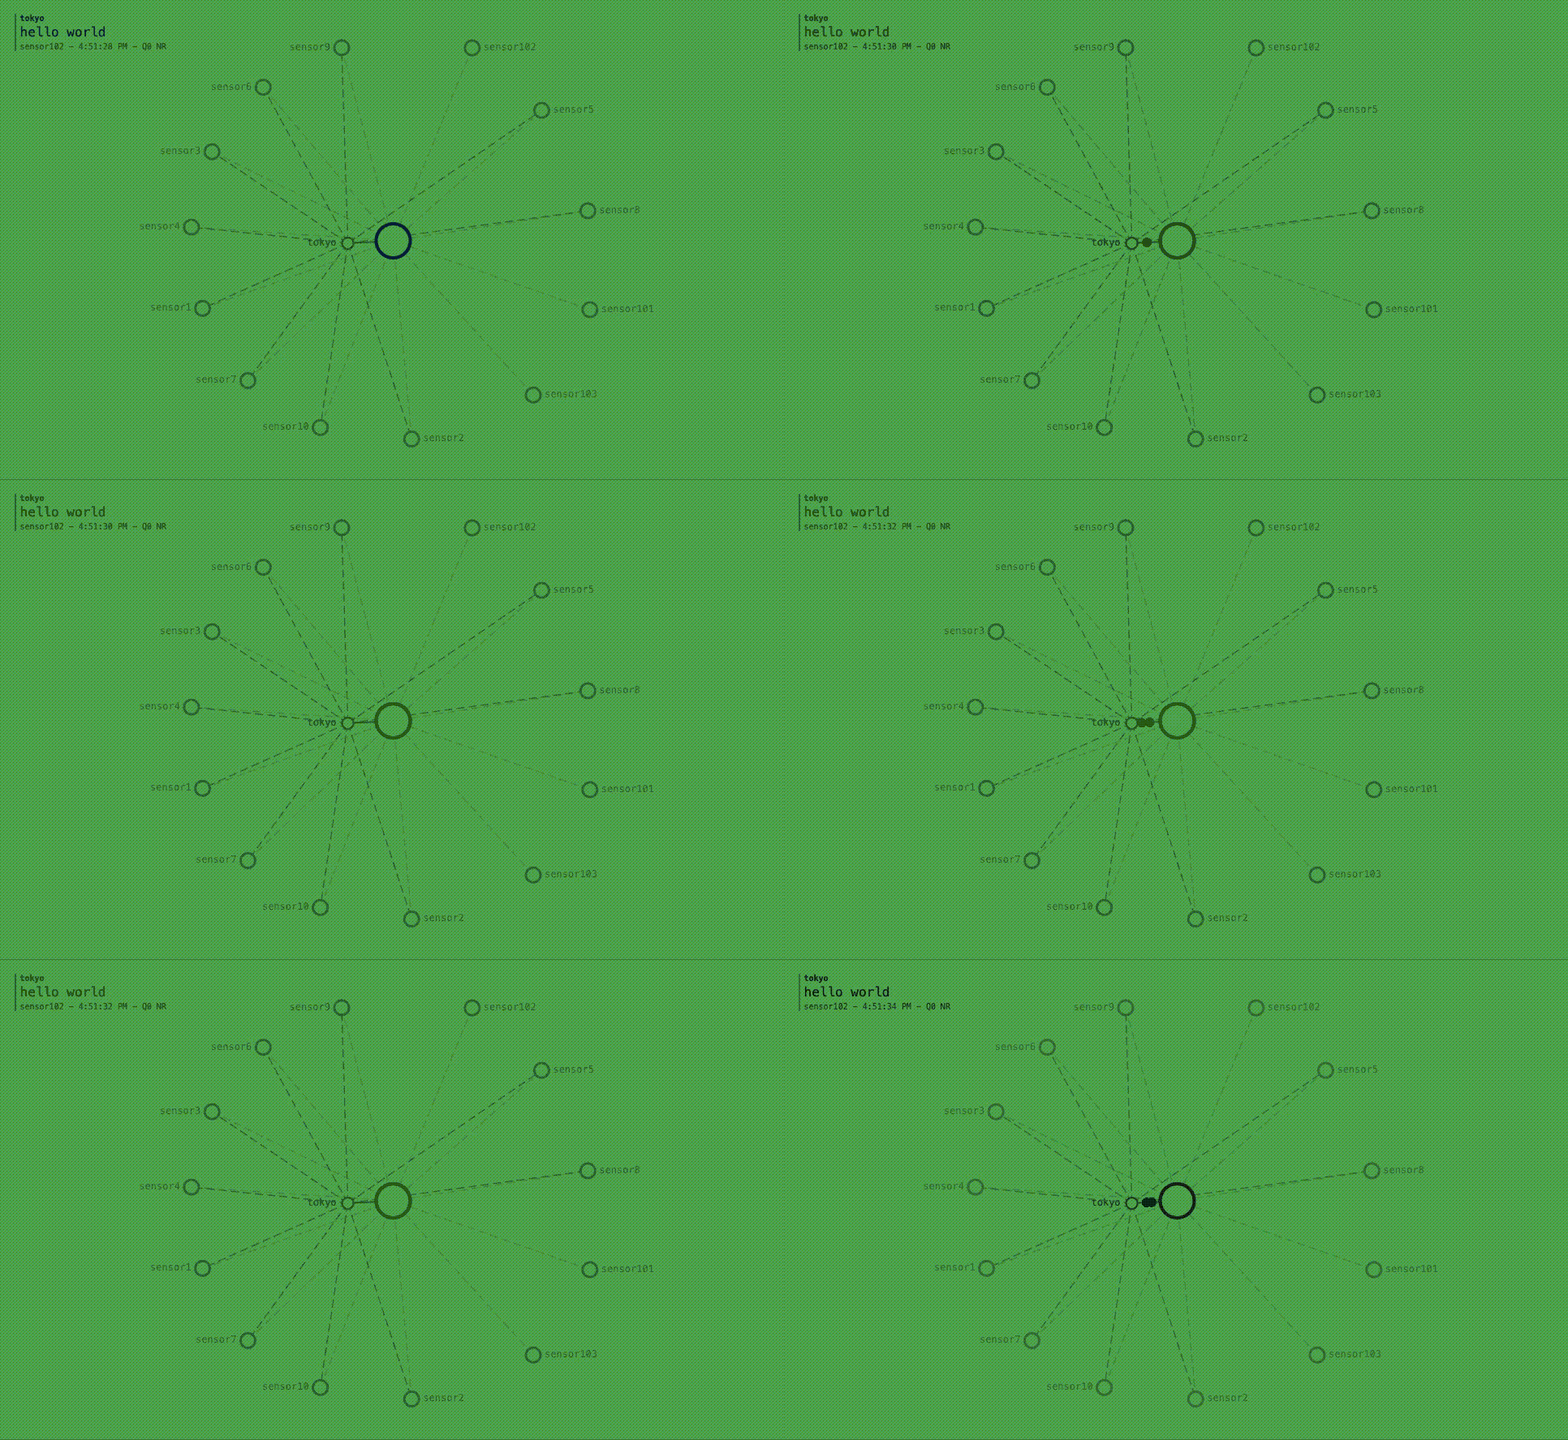
Here is the code for the client.
require 'rubygems'
require 'mqtt'

broker = "mqtt://<token>@broker.shiftr.io"
topic = "tokyo"
message = "hello world"

# Publisher
(101..103).each do |i|
  Process.fork do
    client_name = "sensor" + i.to_s
    MQTT::Client.connect(broker, client_id: client_name) do |client|
      loop do
        client.publish topic, message
        sleep 2
      end end
    end end
  end end
end

# Subscriber
(1..10).each do |i|
  Process.fork do
    client_name = "sensor" + i.to_s
    MQTT::Client.connect(broker, client_id: client_name) do |client|
      client.subscribe topic
      loop do
        while !client.queue_empty? do
          topic, message = client.get
          puts "#{client_name} #{topic} #{message}"
        end
        sleep 2
      end end
    end end
  end
end
Others
If you click on the circle of the client, you can see the communication volume and message contents.
- Communication volume
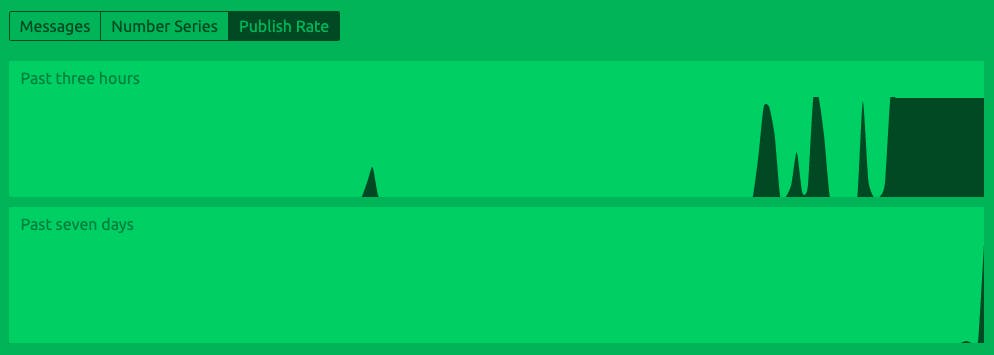
- Message

Summary
I thought it would be a good idea to design a topology with shiftr.io and write the code to simulate your sensor topology before going for the production, because it would be hard to understand if there are too many sensors in the real field. shiftr.io does pretty good job!
